Best Exercises for Slip Disc Relief - What Physiotherapists Recommend

A woman performs stretching exercises after a workout to cool down, improve flexibility, and support muscle recovery.
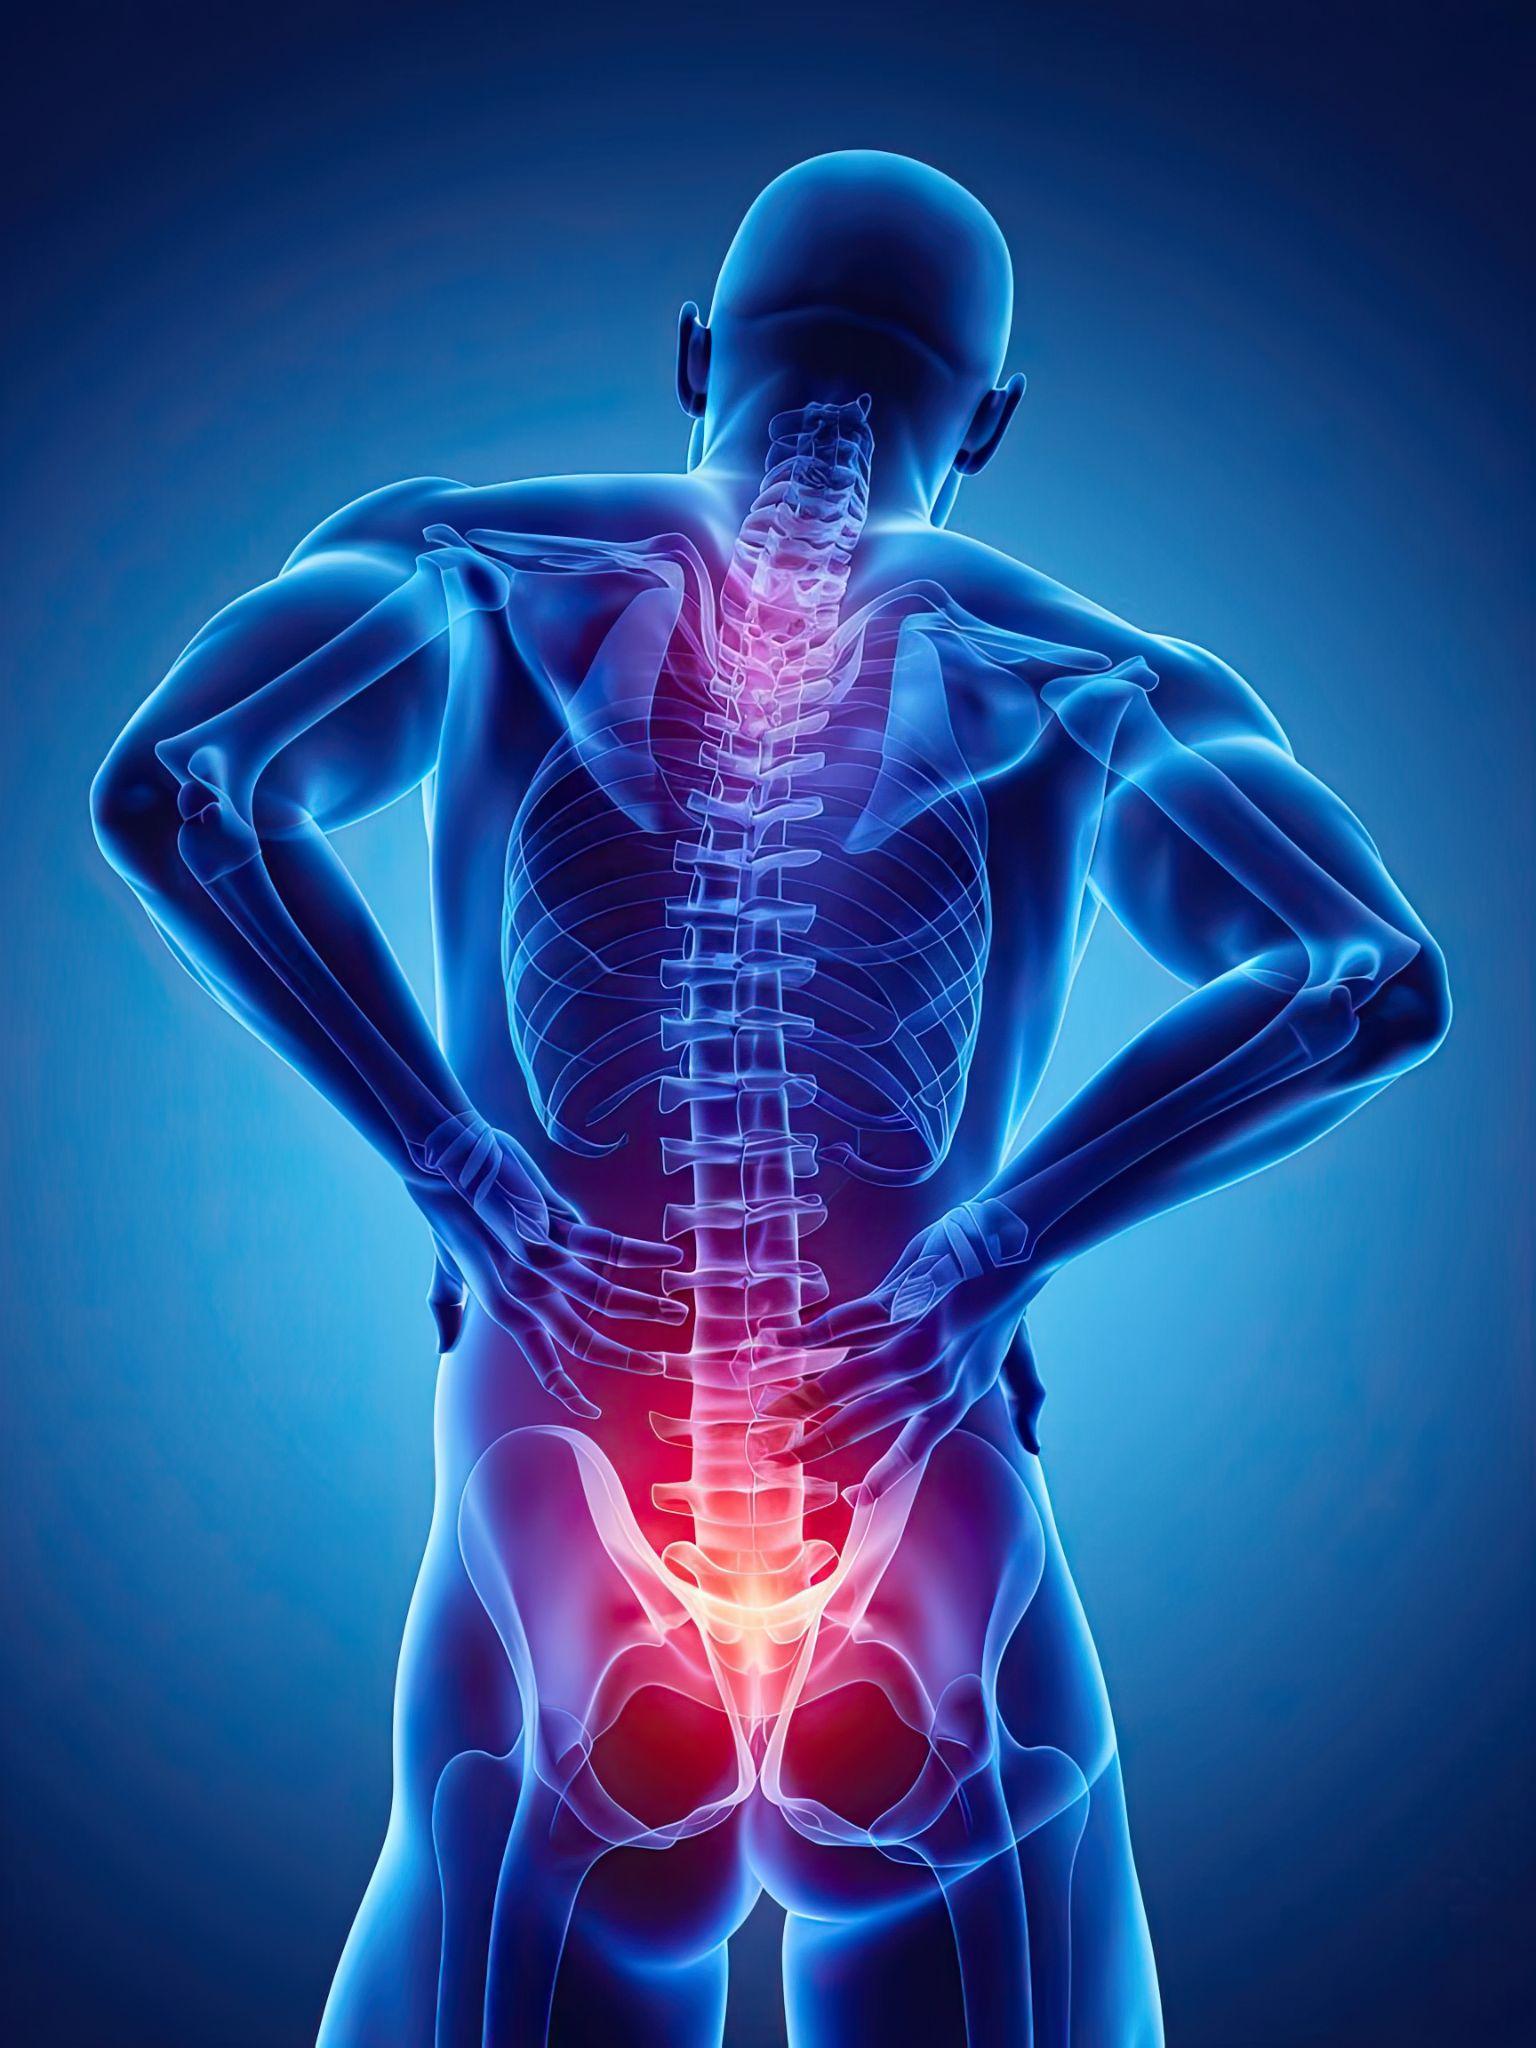
One of the most common mistakes patients with a slipped disc make is doing the wrong exercise — or doing no exercise at all. Both extremes delay recovery.
The right exercises for a lumbar disc herniation work by reducing nerve compression through movement of disc material, strengthening the muscles that support the spine, improving neural mobility, and preventing recurrence. The wrong exercises — high-impact activity, heavy loading, certain yoga poses — can worsen nerve compression and significantly prolong recovery.
This guide explains the exercise framework that physiotherapists use for slipped disc recovery, covering what to do, what to avoid, and why. Note: always have your specific exercises guided by a qualified physiotherapist who can assess your individual directional preference. This guide provides education, not a prescription.
The Most Important Concept: Directional Preference
Before listing exercises, there is a fundamental concept that determines which exercises are appropriate for you.
Directional preference means that for most patients with a lumbar disc herniation, movement in one specific direction reduces symptoms — typically by centralising the leg pain (moving it back toward the spine and away from the foot/calf). Finding your directional preference is the first step in McKenzie Method physiotherapy.
Extension preference (the most common): Moving the spine backward (arching the back) reduces leg pain and centralises symptoms. This is the directional preference for most patients with postero-lateral disc herniations — the most common pattern.
Flexion preference (less common): Moving the spine forward (bending) reduces symptoms. This is more common in spinal stenosis and in some older patients.
Signs you may have an extension preference:
- Lying face down is comfortable
- Sitting for long periods makes the leg pain worse
- Walking feels better than sitting
- Bending forward increases leg pain
Signs you may have a flexion preference:
- Bending forward reduces leg pain
- Sitting in a reclined position is comfortable
- Walking uphill or on a flat surface makes leg pain worse
The exercises below are organised primarily for extension preference patients, as this represents the majority. If your symptoms worsen with extension exercises, stop and seek professional physiotherapy assessment.
Phase 1: Acute Phase (Week 1–2) — Decompression and Position
The goal in the acute phase is not strength or flexibility — it is reducing nerve compression and allowing initial inflammation to settle.
Exercise 1: Prone Lying
How to do it: Lie face down on a firm, flat surface (a mat on the floor is ideal). Arms by your sides. Let your lower back completely relax. Stay in this position for 2–5 minutes, breathing normally.
Why it works: For most lumbar disc herniations, the prone position gently extends the spine and reduces the pressure pushing the disc material posteriorly (toward the nerve). Many patients notice that leg pain reduces within 1–2 minutes of lying prone.
Frequency: 5–6 times per day, 2–5 minutes each time. This can be done on the floor of an office or home.
Exercise 2: Prone on Elbows (Sphinx Position)
How to do it: From prone lying, prop yourself up on your elbows. Your forearms should be flat on the floor, elbows directly under your shoulders. Let the lower back gently arch. Hold this position for 30–60 seconds. Lower back down.
Why it works: This position creates a gentle lumbar extension that is slightly more pronounced than flat prone lying. It helps begin moving the herniated disc material anteriorly, away from the compressed nerve root.
Progress gradually: Start with 10 seconds and work up to 60 seconds as tolerated.
Frequency: 10 repetitions, 3–4 times per day.
Exercise 3: Supine Knee-to-Chest (for Pain Relief)
How to do it: Lie on your back with knees bent. Gently bring both knees toward your chest and hold with your hands. Hold for 20–30 seconds. This gently flexes the lumbar spine.
When to use: This is more appropriate for patients who find flexion relieves their symptoms — or as a gentle mobilisation after extension exercises to balance the spine. Not appropriate if it worsens leg pain.
Phase 2: Sub-Acute Phase (Week 2–6) — McKenzie Extension Exercises
Once the most acute phase has passed, progressive extension exercises become the core of the programme.
Exercise 4: Prone Press-Up (McKenzie Extension in Lying)
How to do it: Lie face down. Place your hands under your shoulders, palms flat on the floor (like the start of a push-up position). Keeping your hips and pelvis on the floor, slowly press your upper body up by straightening your arms. The lower back arches gently backward. Hold at the top for 1–2 seconds. Lower back down. Repeat 10 times.
The key: Keep the hips on the floor throughout. This is not a yoga cobra where the hips lift — the pelvis stays down to allow the lumbar extension to occur.
What you should notice: Leg pain should centralise (move upward toward the back) or reduce during or after these exercises. If leg pain increases significantly or moves further down the leg, stop and consult a physiotherapist.
Frequency: 10 repetitions every 2 hours during the waking day. Consistency (frequent short sets) is more important than fewer long sets.
Exercise 5: Standing Extension
How to do it: Stand with feet hip-width apart. Place your hands in the small of your back for support. Gently lean backward at the waist, extending the lumbar spine. Hold for 2–3 seconds. Return to neutral. Repeat 10 times.
When to use: When prone exercises are not practical (at work, during a long commute). A practical way to introduce extension loading in an upright position.
Frequency: Can be done every 30–45 minutes when sitting is unavoidable — stand up, do 10 standing extensions, sit back down. This counteracts the flexion load of prolonged sitting.
Phase 3: Recovery and Prevention (Week 4–12) — Core Stabilisation
Once pain has centralised and reduced, the focus shifts to building the muscular support that protects the disc from future episodes. The core stabilisers — particularly the transversus abdominis (TA) and multifidus — are the muscles most critical for spinal protection.
Exercise 6: Abdominal Bracing (Activating Transversus Abdominis)
How to do it: Lie on your back with knees bent. Breathe out gently and draw your lower abdomen inward — not sucking it in dramatically, but creating a gentle tension in the lower belly. This activates the transversus abdominis without creating spinal movement. Hold for 10 seconds, breathing normally. Repeat 10 times.
Why it's critical: The TA acts as a natural internal corset for the lumbar spine — when it contracts, it creates intra-abdominal pressure that supports the spine. In patients with disc herniation, this muscle is typically inhibited by pain. Reactivating it is the foundation of all subsequent core exercises.
Exercise 7: Heel Slides
How to do it: Lie on your back with knees bent, activate the TA (abdominal brace). While maintaining this activation, slowly slide one heel along the floor until the leg is straight. Bring it back. Alternate legs. 10 repetitions per side.
Why: This exercise challenges the TA to maintain spinal stability while the leg moves — a simple but effective beginning core stabilisation exercise.
Exercise 8: Knee Fallouts
How to do it: Lie on your back with knees bent and feet flat on the floor. Activate TA. Slowly let one knee fall outward toward the floor, keeping the pelvis still (don't let the lower back rotate). Bring the knee back to centre. Alternate sides. 10 repetitions per side.
Exercise 9: Bridge
How to do it: Lie on your back with knees bent. Activate TA. Press your feet into the floor and lift your hips off the ground, creating a straight line from knees to shoulders. Hold for 5–10 seconds. Lower slowly. Repeat 10 times.
Progress: Single-leg bridge (extend one leg while bridging on the other) once the double-leg bridge is comfortable.
Why: The bridge activates the glutes, hamstrings, and lumbar extensors — all critical for spinal support.
Exercise 10: Bird-Dog
How to do it: Start on all fours with hands under shoulders and knees under hips. Activate TA. Slowly extend the right arm forward and the left leg back simultaneously — creating a straight line from fingertips to toes. Hold for 5–10 seconds. Return to start. Alternate sides. 10 repetitions per side.
Why: One of the most effective core stability exercises for lumbar spine rehabilitation. Challenges the deep stabilisers without loading the disc in flexion.
Exercise 11: Sciatic Nerve Floss (Neural Mobilisation)
How to do it: Sit in a chair. Extend one knee (straighten the leg) while simultaneously tilting your head downward toward your chest. Then, as you bend the knee back, tilt your head up. The movement is like a seesaw between the leg and the head. 10 slow, fluid repetitions.
Why it works: This exercise moves the sciatic nerve through its pathway — reducing neural adhesions (where the inflamed nerve has stuck to surrounding structures) and restoring neural mobility. Particularly helpful when leg tingling and numbness are prominent.
Important: This should create mild tension in the leg — not sharp, shooting pain. If it produces intense pain, stop.
Exercises to Avoid with a Slip Disc
What Not to Do
Heavy deadlifts and barbell squats: Place extreme compressive and shear load on the lumbar discs in a loaded flexion position. Contraindicated until fully recovered.
Sit-ups and crunches: Classic abdominal exercises that require lumbar flexion under load — the worst combination for disc herniation. These exercises directly increase intradiscal pressure.
Leg raises (double): Raising both legs simultaneously from lying creates very high lumbar flexion forces. Contraindicated.
Toe touches from standing: Repeatedly bending forward to touch the toes loads the discs in flexion — counterproductive for most disc herniations.
Running and jogging: High-impact activities during acute episodes. Can resume gradually once the disc has stabilised.
Deep yoga poses involving forward bending: Paschimottanasana, Uttanasana, and other intense forward folds. Backbends and gentle yoga are generally fine.
Walking — The Underestimated Exercise
Walking deserves special mention. It is one of the best exercises for lumbar disc herniation recovery:
- It maintains spinal movement without excessive loading
- The reciprocal arm and leg swing promotes disc fluid exchange
- It strengthens the lumbar extensors and hip muscles in a functional way
- It can be done regardless of fitness level
Start with 5–10 minutes and gradually increase as tolerated. Walk on flat surfaces initially. Avoid carrying anything on one shoulder asymmetrically — this adds lateral spinal loading.
Slip Disc Physiotherapy in Noida — Dr. Mayank Chauhan at Prakash Hospital
Dr. Mayank Chauhan, Senior Orthopedic Surgeon at Prakash Hospital, Sector 33, Noida, integrates physiotherapy into all slip disc management — directing patients to trained McKenzie physiotherapists and providing guidance on the exercise programme that complements medical treatment.
For patients in Noida and Greater Noida who have been given a diagnosis of disc herniation and are uncertain about what exercises are safe and appropriate for their specific level and stage, a proper evaluation will provide clarity. To book a consultation, call the number listed on the website.
The Bottom Line
The right exercises for slip disc recovery are specific, gentle, and targeted — not generic "back exercises" or intense gym training. The McKenzie extension protocol for most patients with lumbar disc herniation, progressed through core stabilisation, provides the framework for non-surgical recovery.
The wrong exercises can worsen disc herniation significantly. Get the right guidance and do the right exercises consistently.
To consult Dr. Mayank Chauhan, Senior Orthopedic Surgeon in Noida, call the number listed on the website.