How Knee Replacement Surgery Is Performed — A Step-by-Step Guide

A patient is sitting with a knee brace and a doctor is examining it.
Most people who are told they need a knee replacement get the same non-answer from everyone: "It's routine. Very common. Nothing to worry about." They get handed a brochure with a diagram and sent home to Google it.
Nobody actually explains what happens in the operating room. What the surgeon does, in what order, and why. And because it's your knee — and because the thought of bone being cut while you're awake on a table is, frankly, unsettling — the vague reassurances don't help.
This guide fills that gap. Here is what actually happens, from the moment you walk into the pre-op area to the moment your physiotherapist walks you down the corridor the next morning.
What Knee Replacement Actually Means
The phrase "knee replacement" is a bit misleading. The surgeon does not remove your knee and install a mechanical one. Your own bones stay exactly where they are.
What gets removed is the damaged surface — the worn-out cartilage and a thin layer of bone beneath it. These surfaces are reshaped and fitted with metal and plastic components. Instead of rough, arthritic bone grinding against bone, you now have smooth metal gliding over a polished plastic spacer.
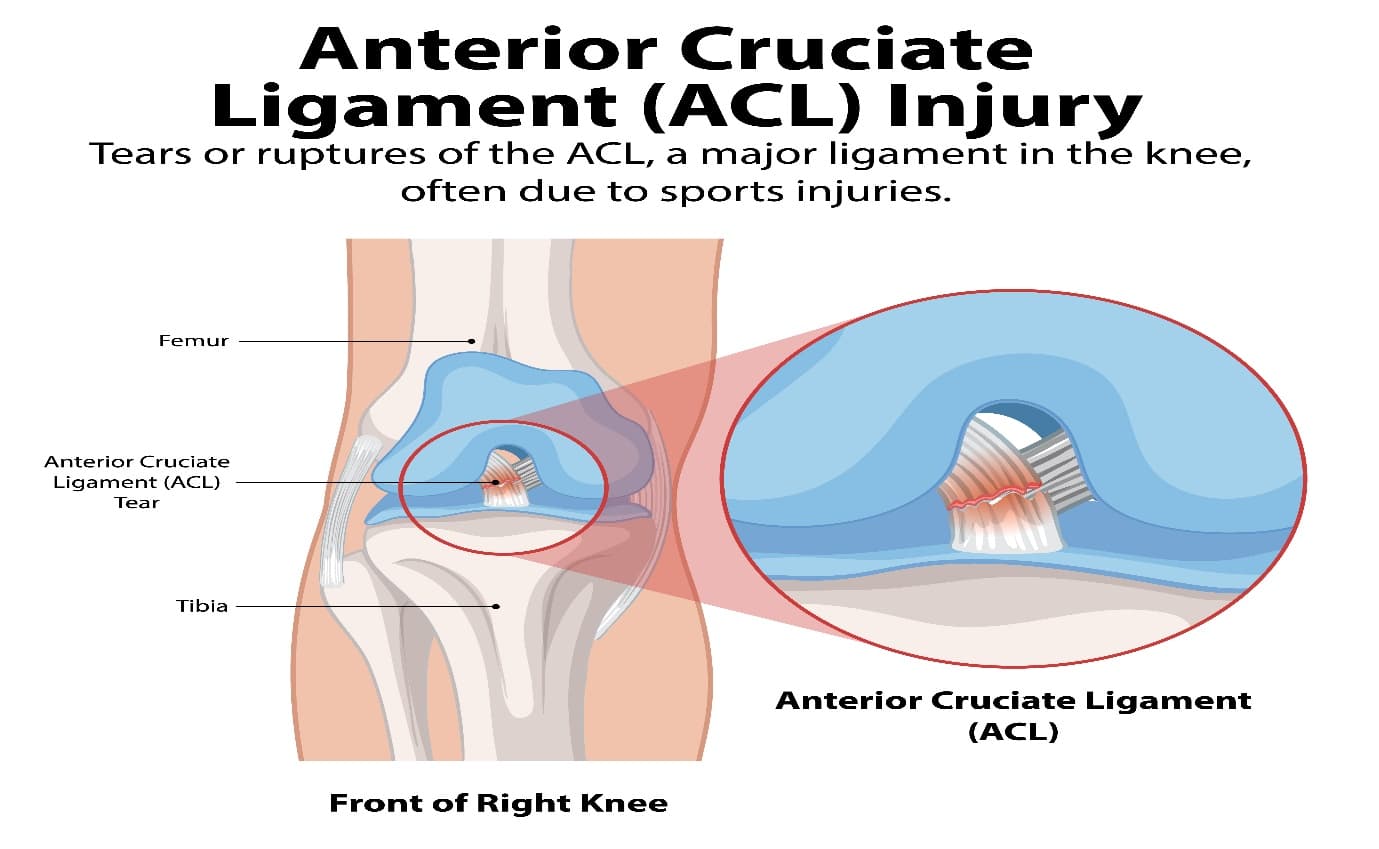
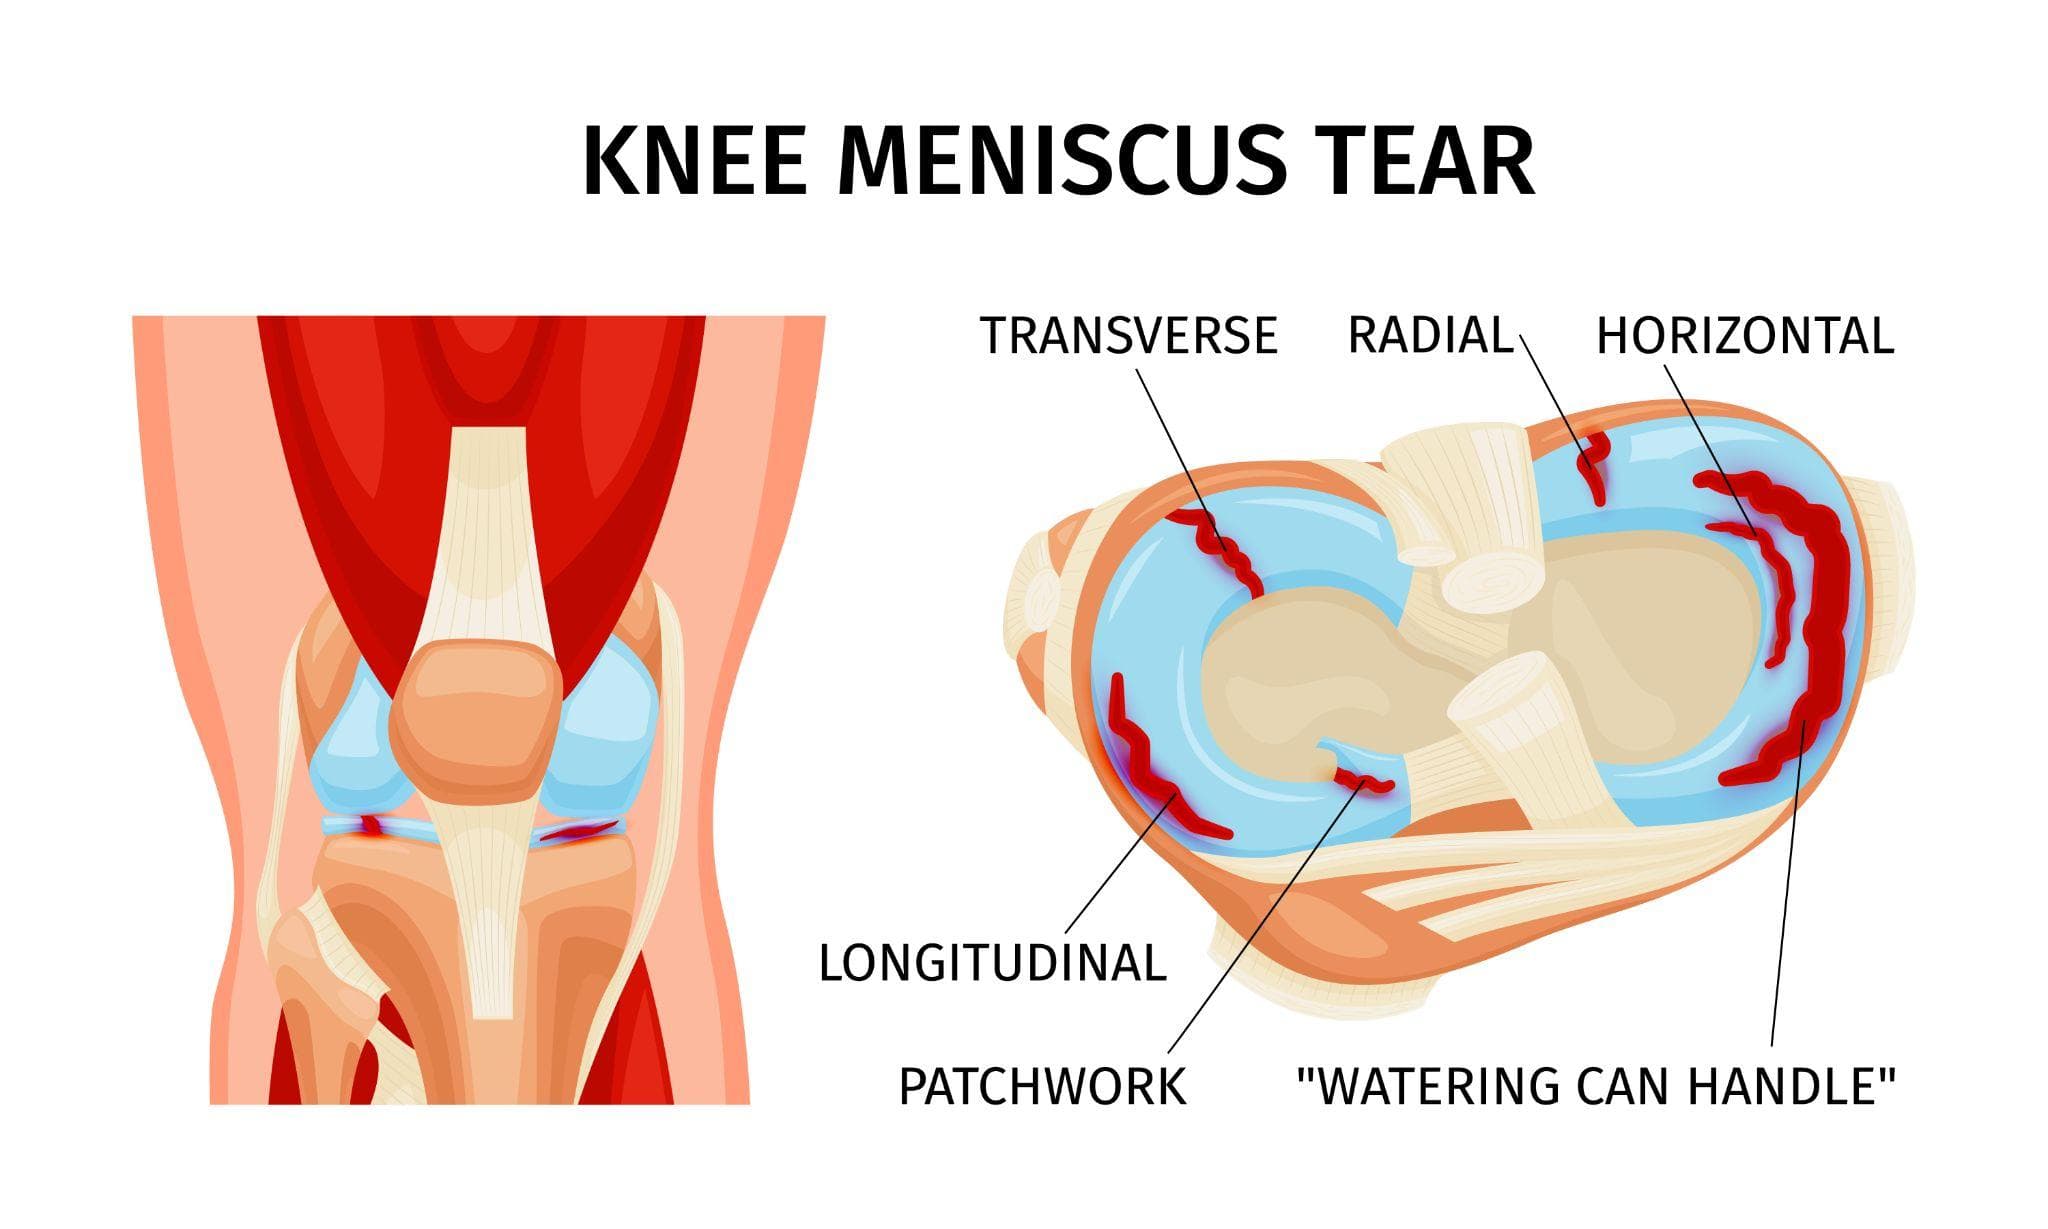
Your ligaments remain in most cases. The joint structure stays largely intact. What changes is the contact surface — and that change is what stops the pain.
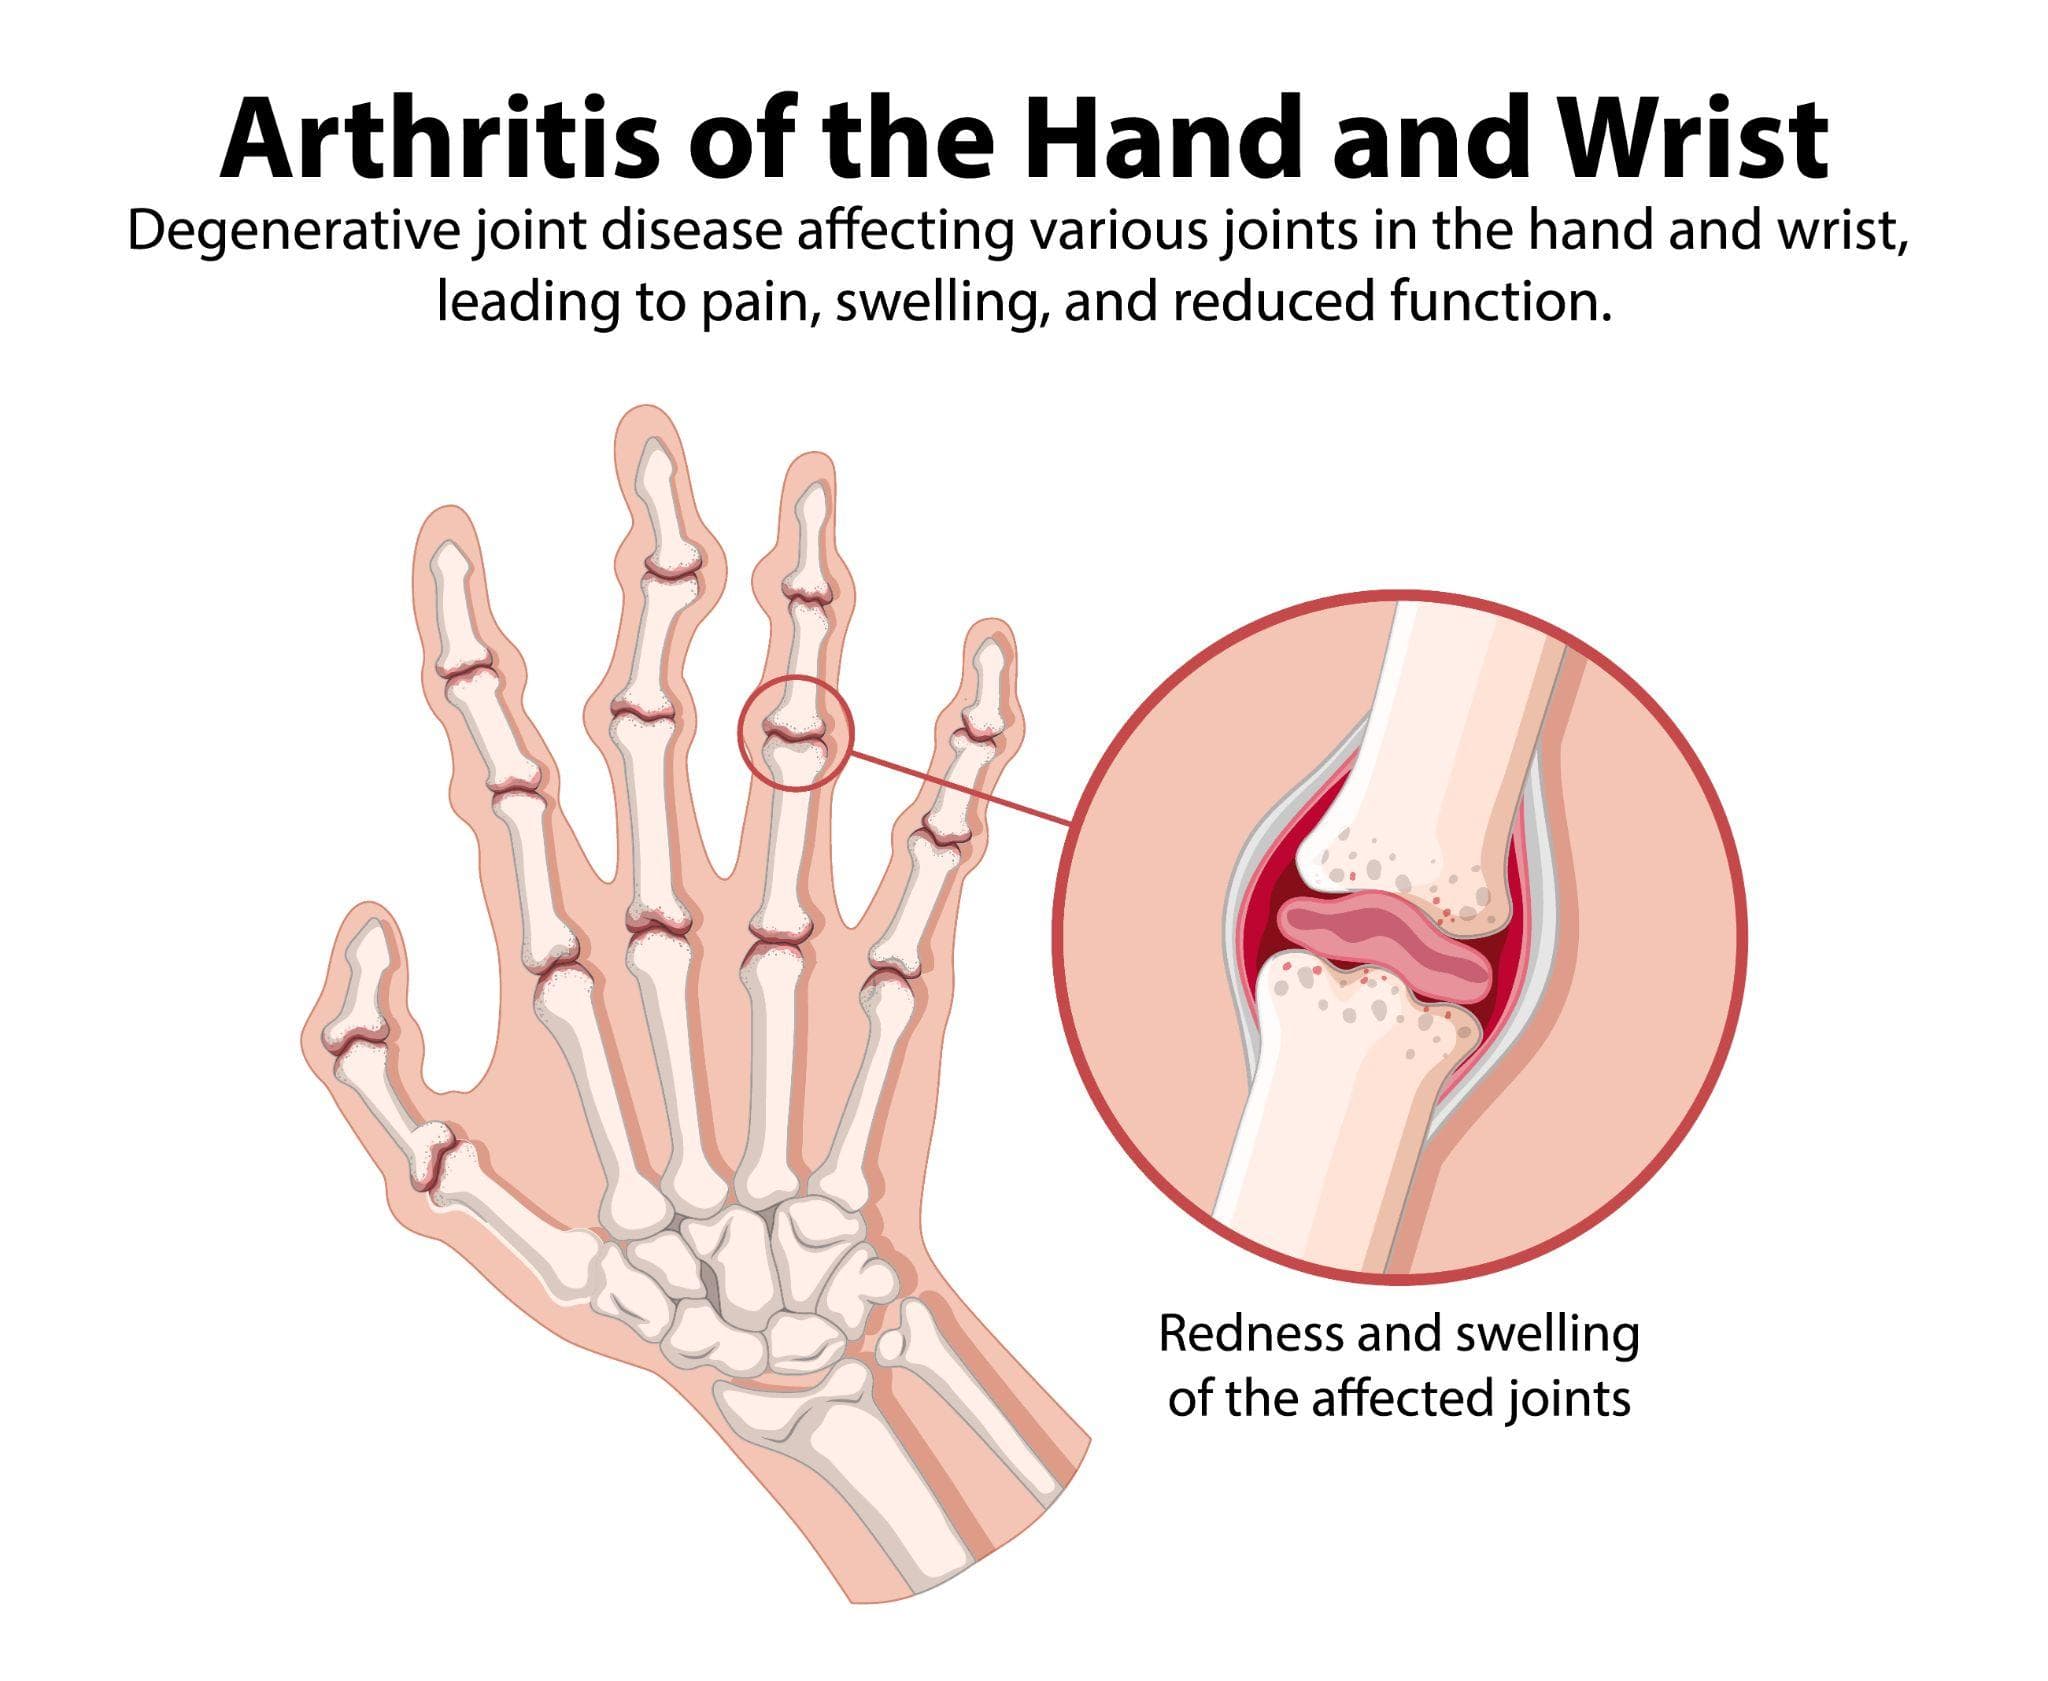
The surgery is recommended when the cartilage that cushions the knee has worn away to the point of bone-on-bone contact. This is most commonly from osteoarthritis, rheumatoid arthritis, or an old injury that never properly healed. When physiotherapy, injections, and medications stop working, replacement becomes the right conversation to have.
Before You Go In: The Preparation Phase
Surgery begins weeks before the incision. Pre-operative workup typically includes blood tests, an ECG, chest X-ray, and knee X-rays taken in weight-bearing positions. These images help the surgical team plan the exact cuts needed for your specific anatomy — every knee is slightly different.
If you have diabetes, blood sugar control matters enormously. Poorly controlled diabetes increases infection risk. If you're on blood thinners, you'll stop them several days before. You'll be asked not to eat or drink from midnight the night before — a standard anesthesia safety requirement.
Many surgeons now recommend prehabilitation: physiotherapy exercises in the weeks before surgery that strengthen your quadriceps and hamstrings. The stronger your muscles going in, the faster your recovery coming out. It's worth taking seriously.
Step 1: Anesthesia
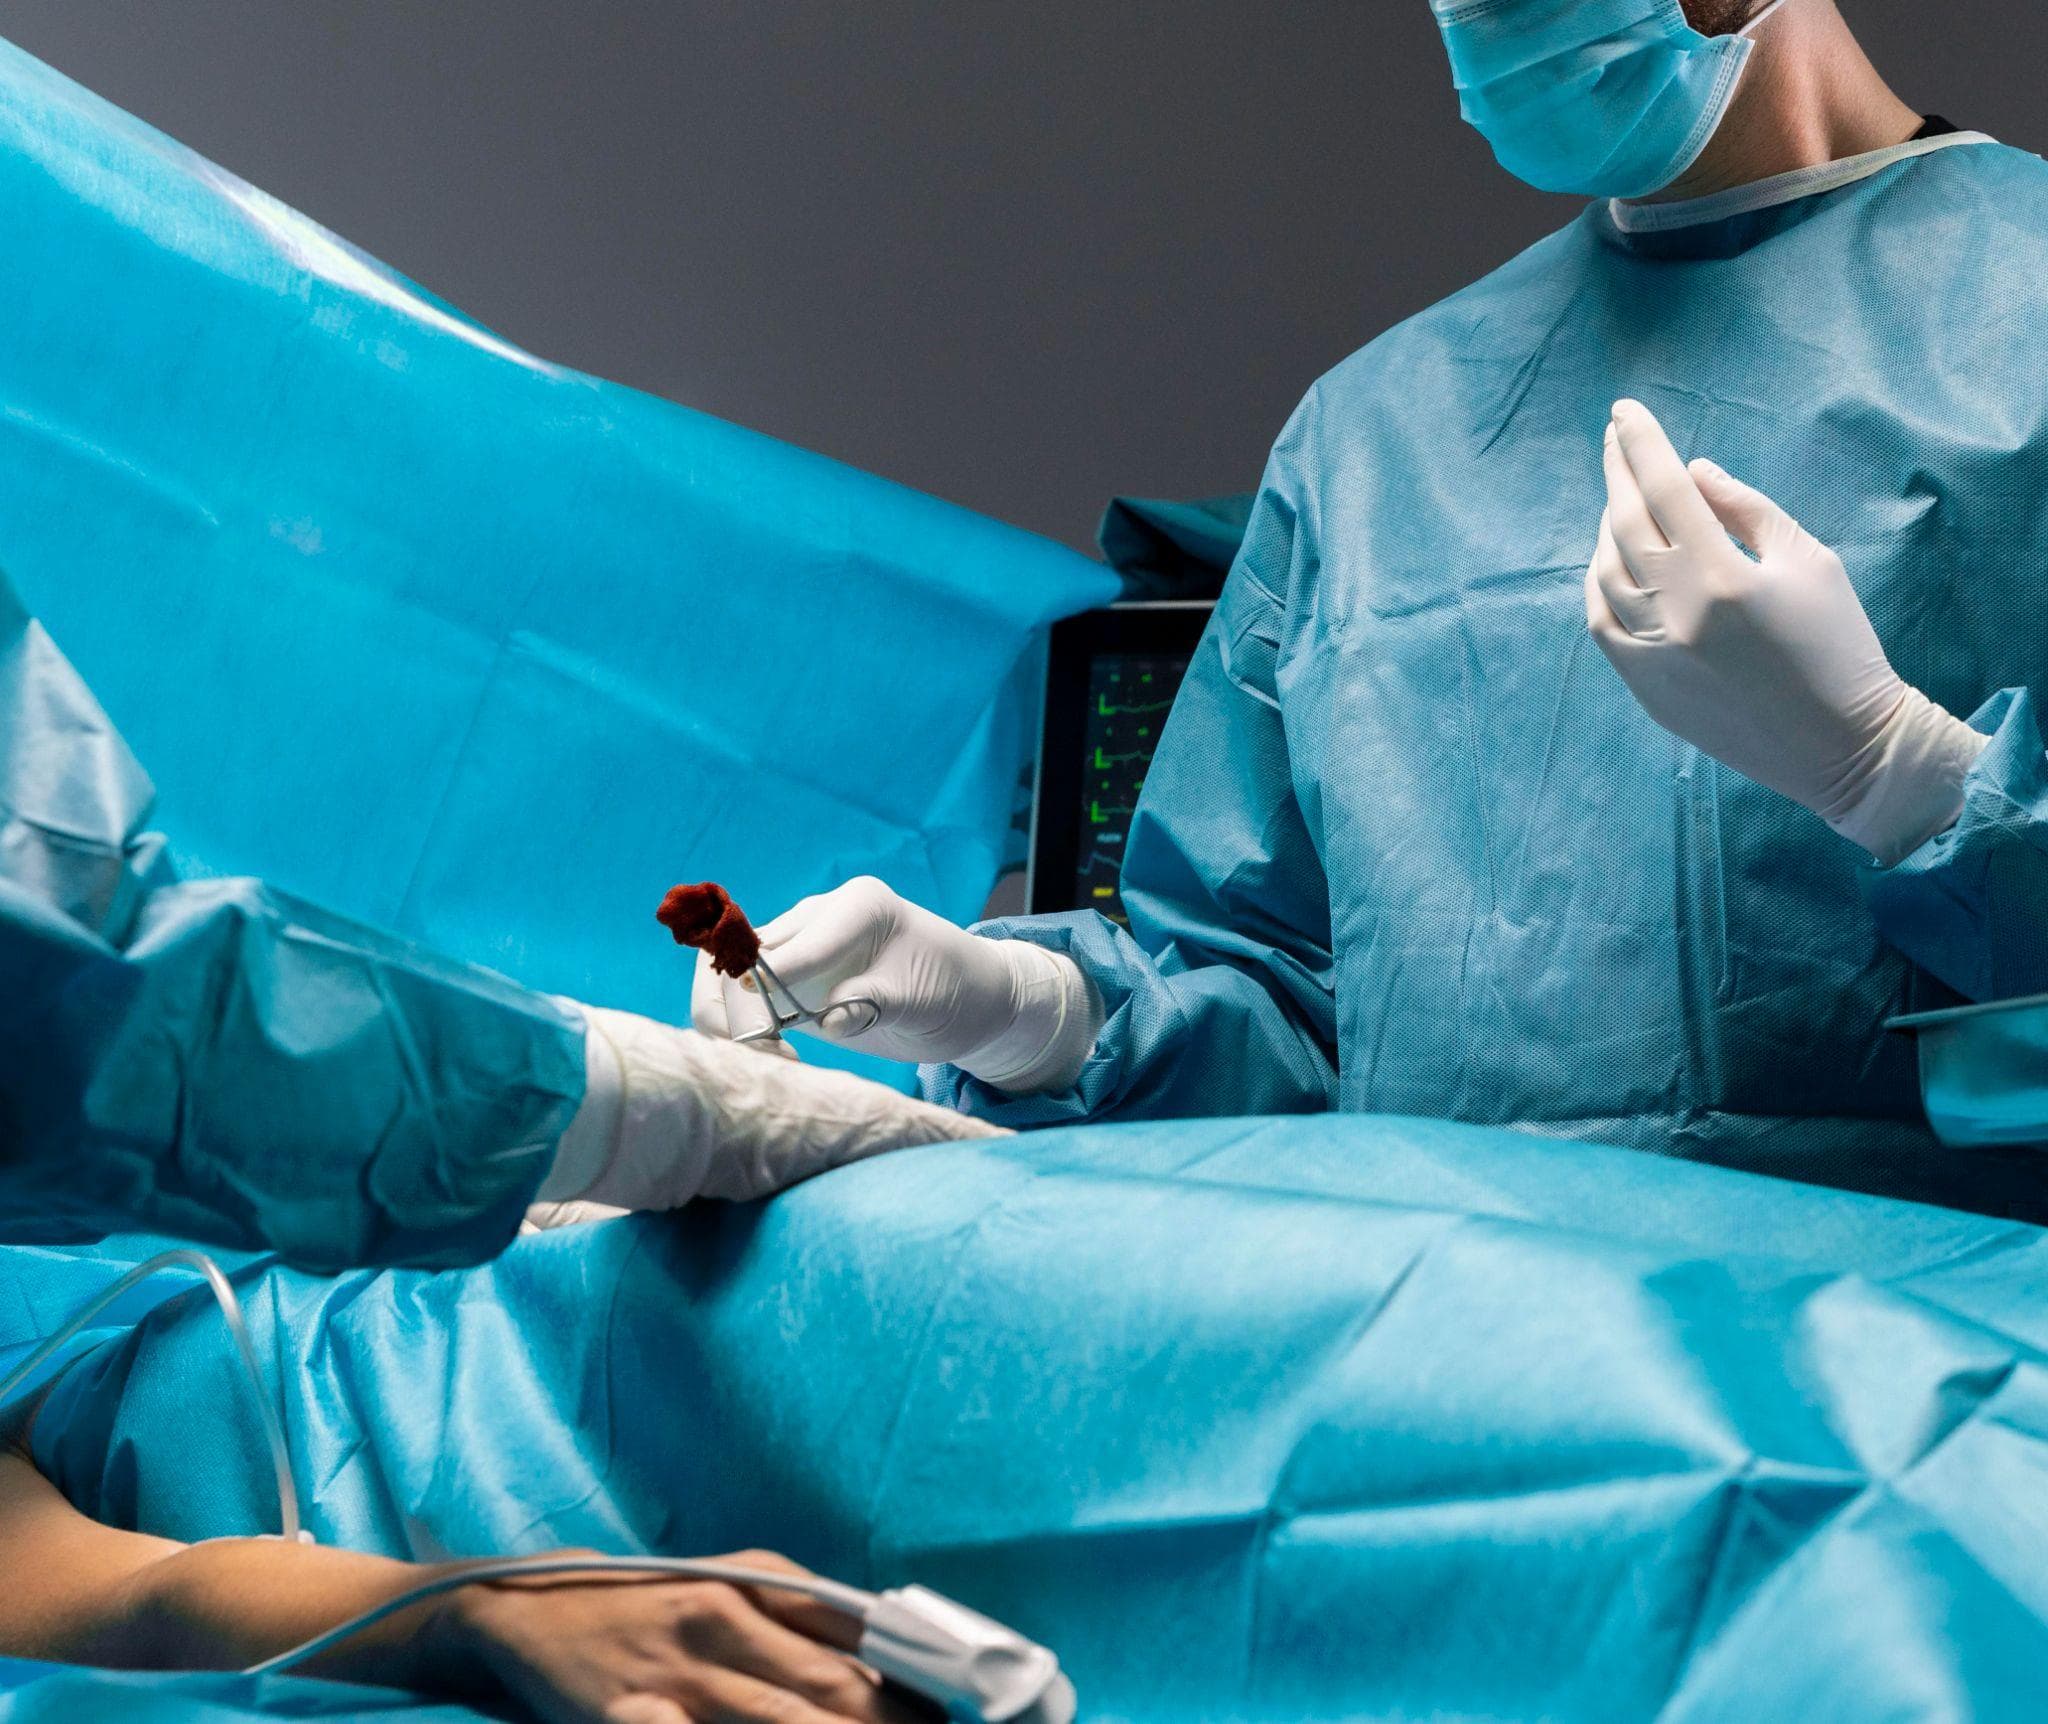
For most knee replacement surgeries in India, spinal anesthesia is the preferred approach. A fine needle is placed in the lower back, numbing everything from the waist down. You remain awake and aware — you can hear the team talking — but you feel nothing below the waist whatsoever.
Some patients choose general anesthesia instead (complete sleep), and this is equally safe. Your anesthesiologist will recommend what suits your health.
Once the anesthesia settles, a tourniquet is placed around your upper thigh. This temporarily reduces blood flow to the knee during surgery, giving the surgeon a clear working field. The procedure typically runs 60 to 90 minutes from first incision to final stitch.
Step 2: The Incision
The surgeon makes a vertical incision down the front of the knee — roughly 20–25 centimetres in traditional total knee replacement, or 10–12 centimetres in minimally invasive approaches. The kneecap is carefully moved to one side to expose the joint surfaces below.
You feel none of this.
Step 3: Removing the Damaged Surface
This is the most technically demanding part of the operation.
Using precision cutting guides — or, in robotic-assisted surgery, a system that provides real-time 3D feedback — the surgeon makes a series of carefully measured bone cuts on the thigh bone (femur) and the shin bone (tibia). The amount of bone removed is deliberately small: typically 8–10 millimetres from each surface. Only the damaged layer comes off. Healthy bone underneath stays put.
The kneecap's back surface may also be resurfaced if it shows significant wear.
The accuracy of these cuts matters a great deal. A cut that's even a few millimetres off can affect how the implant sits and how the joint feels for the next 20 years. Dr. Mayank Chauhan uses computer-assisted and minimally invasive techniques at Prakash Hospital Noida specifically to improve precision at this stage.
Step 4: Trialing the Implant
Before the permanent components go in, the surgeon tests a set of trial implants — temporary pieces of the same shape and size as the real ones.
With the trials in place, the knee is bent and straightened through its full range of motion. The team checks alignment, stability, whether the kneecap tracks straight, and whether any ligament is under unusual tension. If something isn't quite right — an implant size needs adjusting, a small additional bone trim is needed — this is the moment to fix it.
Only when the trial run is perfect does the permanent implant go in.
Step 5: The Permanent Implant
Three components make up the final construct
- Femoral component — a curved metal shell that fits over the reshaped end of the thigh bone
- Tibial tray — a flat metal base that sits on top of the shin bone
- Polyethylene insert — a hard plastic spacer that clicks into the tibial tray and provides the actual gliding surface
These are secured with bone cement — a fast-setting material that fills microscopic gaps and creates a stable bond. In younger or more active patients, cementless fixation is sometimes used instead, where the implant's porous surface allows bone to gradually grow into it over time.
The cement sets within minutes.
Step 6: Closing the Wound
The tourniquet comes off. The team inspects for any bleeding and controls it. The knee is thoroughly washed with saline. The layers of tissue — the joint capsule, fat, skin — are closed carefully in sequence with sutures and staples.
A small drain may be placed to collect excess fluid during the first 24 hours. The wound is dressed. You're moved to recovery.
Robotic-Assisted Knee Replacement: A Note
In robotic surgery, every step above is identical — except in Step 3. A CT scan done before surgery is used to build a 3D model of your specific knee. On the day of surgery, bone sensors create a precise map. The robot doesn't cut anything — the surgeon does. What the robot provides is real-time haptic feedback, physically stopping the surgical tool if it moves beyond the planned cutting boundary.
The result is bone cuts accurate to under 0.5 millimetres, compared to 2–3 millimetres in manual techniques. For patients, this can translate to better alignment, less early pain, and a joint that feels more natural during daily movement.
What Recovery Actually Looks Like
Day 1: Most patients stand and walk a few steps with a walker — the same day or the morning after. Early movement is not optional; it prevents blood clots and keeps the joint from stiffening.
Week 1–2: Focus on wound care, daily physiotherapy exercises, and building confidence walking at home with support.
Week 3–6: Pain drops significantly. Many patients transition to a cane or walk short distances without support.
3 Months: Most daily activities — cooking, light shopping, climbing stairs — are manageable.
6–12 Months: Full strength and flexibility return. Most patients feel no significant restriction at this point.
Modern knee implants are designed to last 20–25 years. Studies consistently show over 90% survival at 15 years post-surgery.
Common Questions
1. Is it painful?
Nothing during surgery — the anesthesia handles that. The first 48–72 hours afterward are uncomfortable, managed through nerve blocks, anti-inflammatories, and pain relief. Most patients describe it as manageable, not unbearable.
2. Will the knee feel like a normal knee?
Most patients get back to walking, climbing stairs, and doing daily activities without pain. Deep bending — like squatting to the floor or sitting cross-legged — may feel different, particularly in traditional techniques. Robotic-assisted surgery has improved natural feel considerably.
3. When can I go upstairs?
Usually within 2–3 weeks, one step at a time with a railing for support.
4. How long in hospital?
Typically 3–5 days at Prakash Hospital, Noida.
Talk to Dr. Mayank Chauhan
Dr. Mayank Chauhan is a senior orthopedic surgeon at Prakash Hospital, Sector 33, Noida — close to the ISKCON Temple. He has 15+ years of experience in joint replacement, trained at Maulana Azad Medical College, Delhi, and holds an international fellowship in arthroplasty from South Korea. His patient rating on Google is 4.9/5.
If your knee pain is significantly affecting daily life and non-surgical treatment has stopped working, a proper evaluation is the right starting point.
To book a consultation, call the number listed on the website.