How Hip Replacement Surgery Is Performed — What Happens in the Operating Room
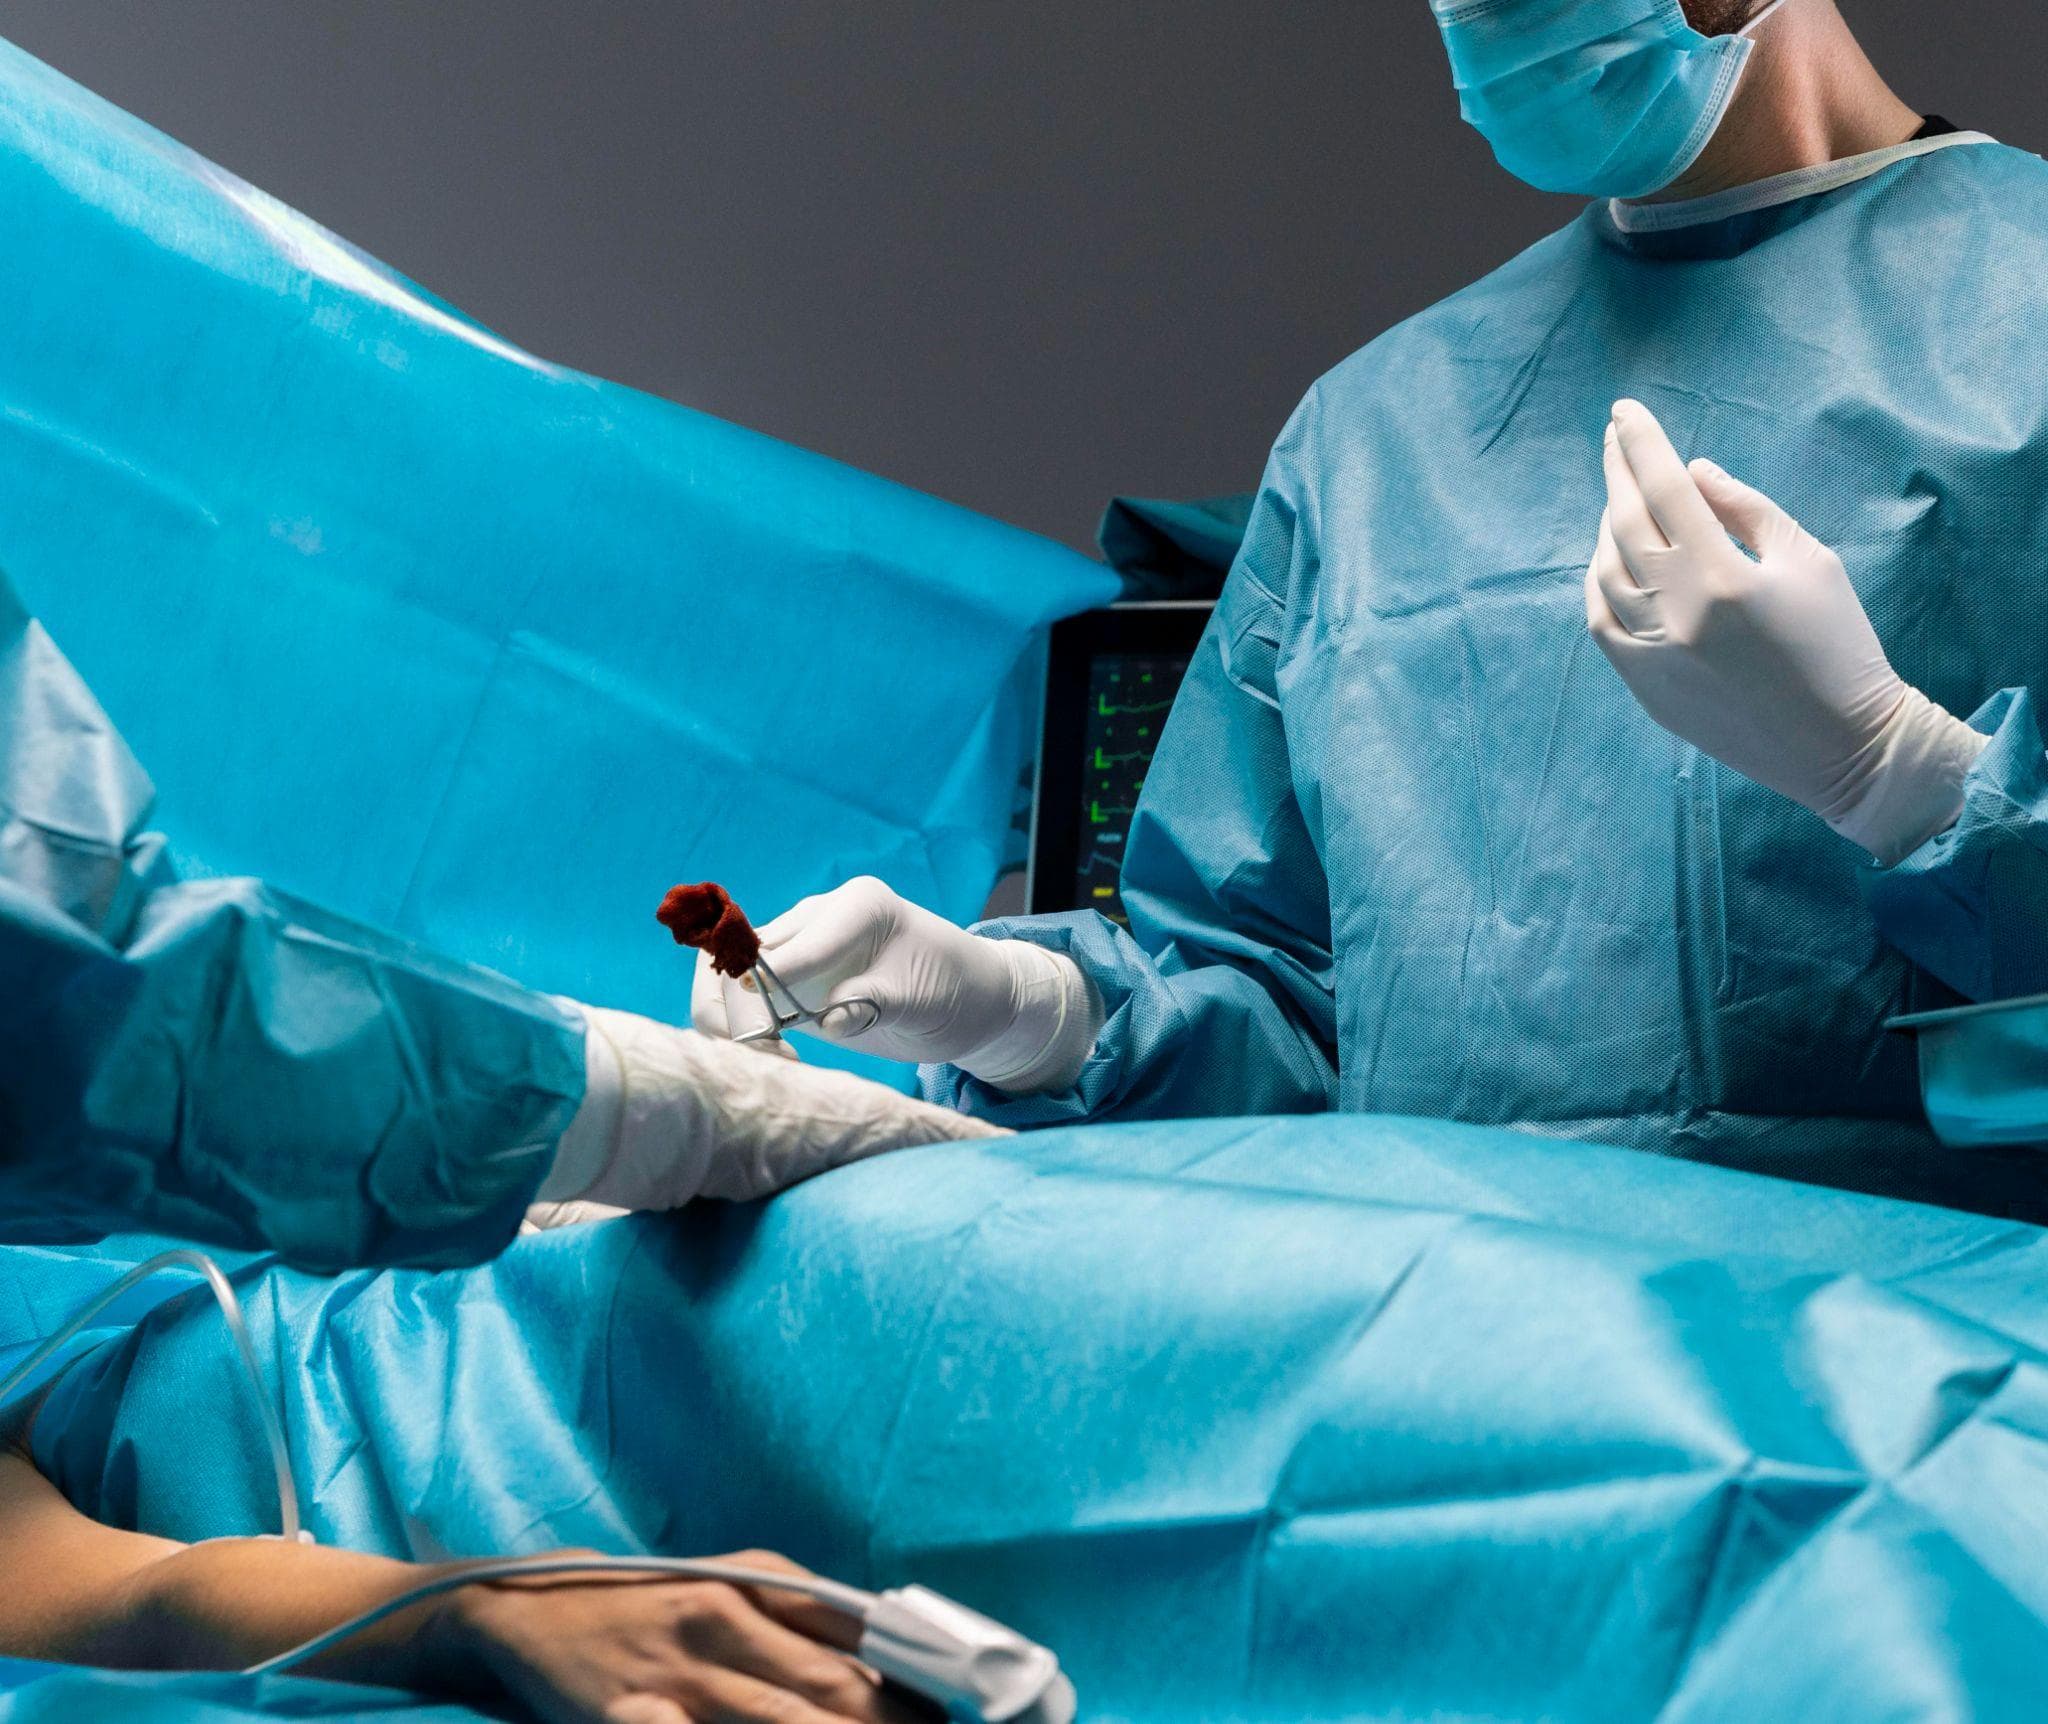
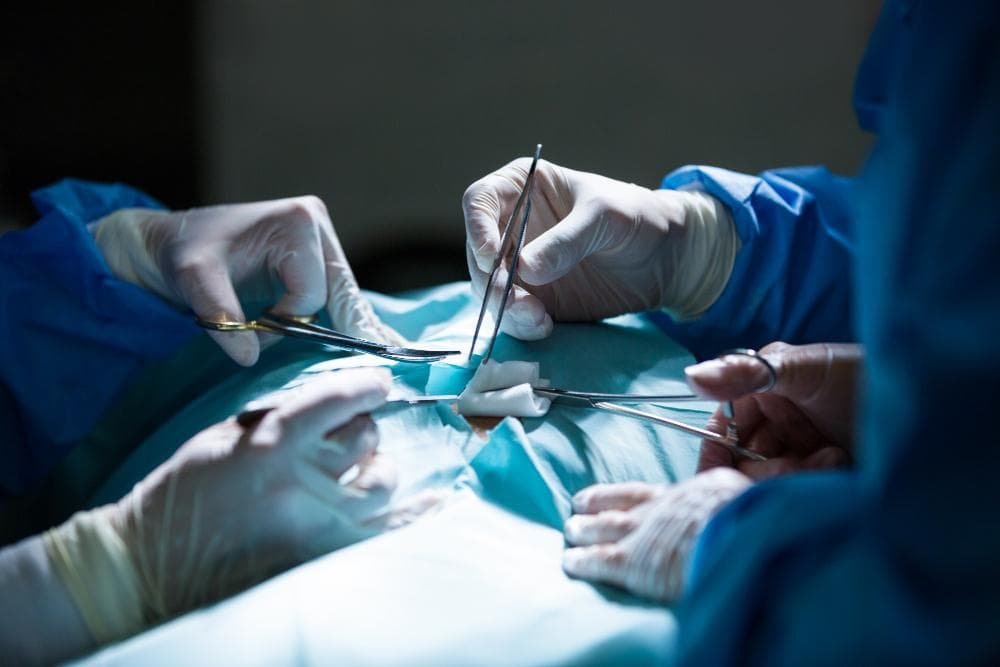
Orthopedic surgeons performing a hip replacement procedure.
Most patients who are told they need a hip replacement spend weeks reading about recovery timelines and implant types without anyone properly explaining what the surgeon actually does during those 60 to 90 minutes.
The uncertainty can be worse than the surgery itself.
This guide explains hip replacement surgery step by step — what happens from the moment you're wheeled in, through every phase of the operation, to your first post-operative steps. No jargon, no fluff.
What Hip Replacement Actually Replaces
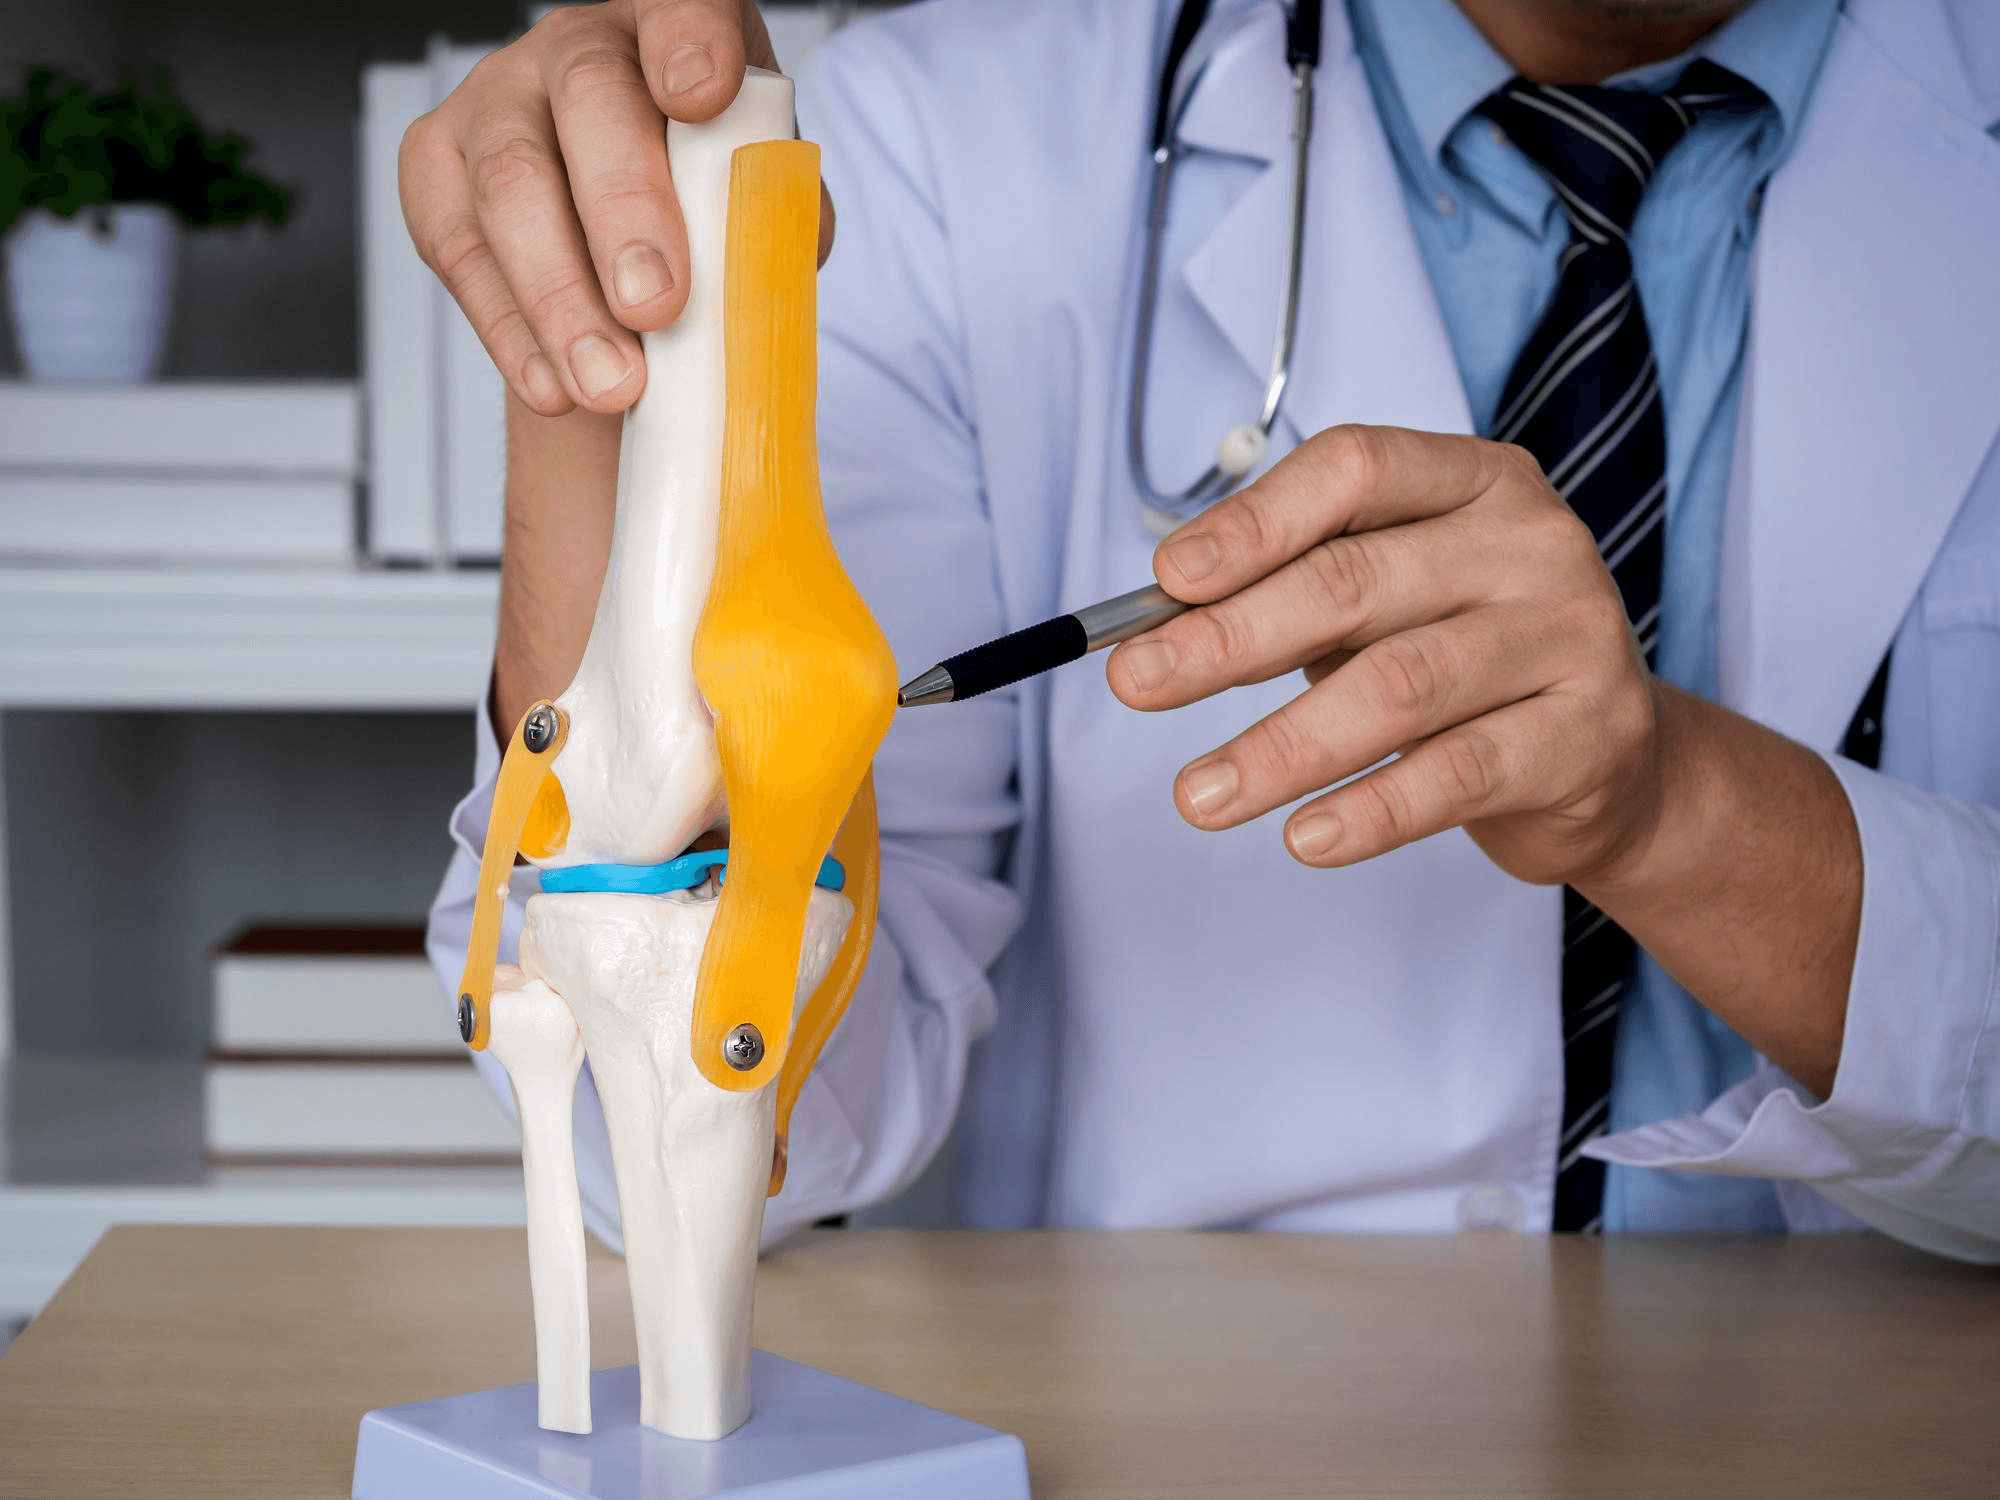
The hip is a ball-and-socket joint. The ball (femoral head) sits at the top of the thigh bone. The socket (acetabulum) is carved into the pelvis. In a healthy hip, both surfaces are coated in smooth cartilage that allows frictionless movement in all directions.
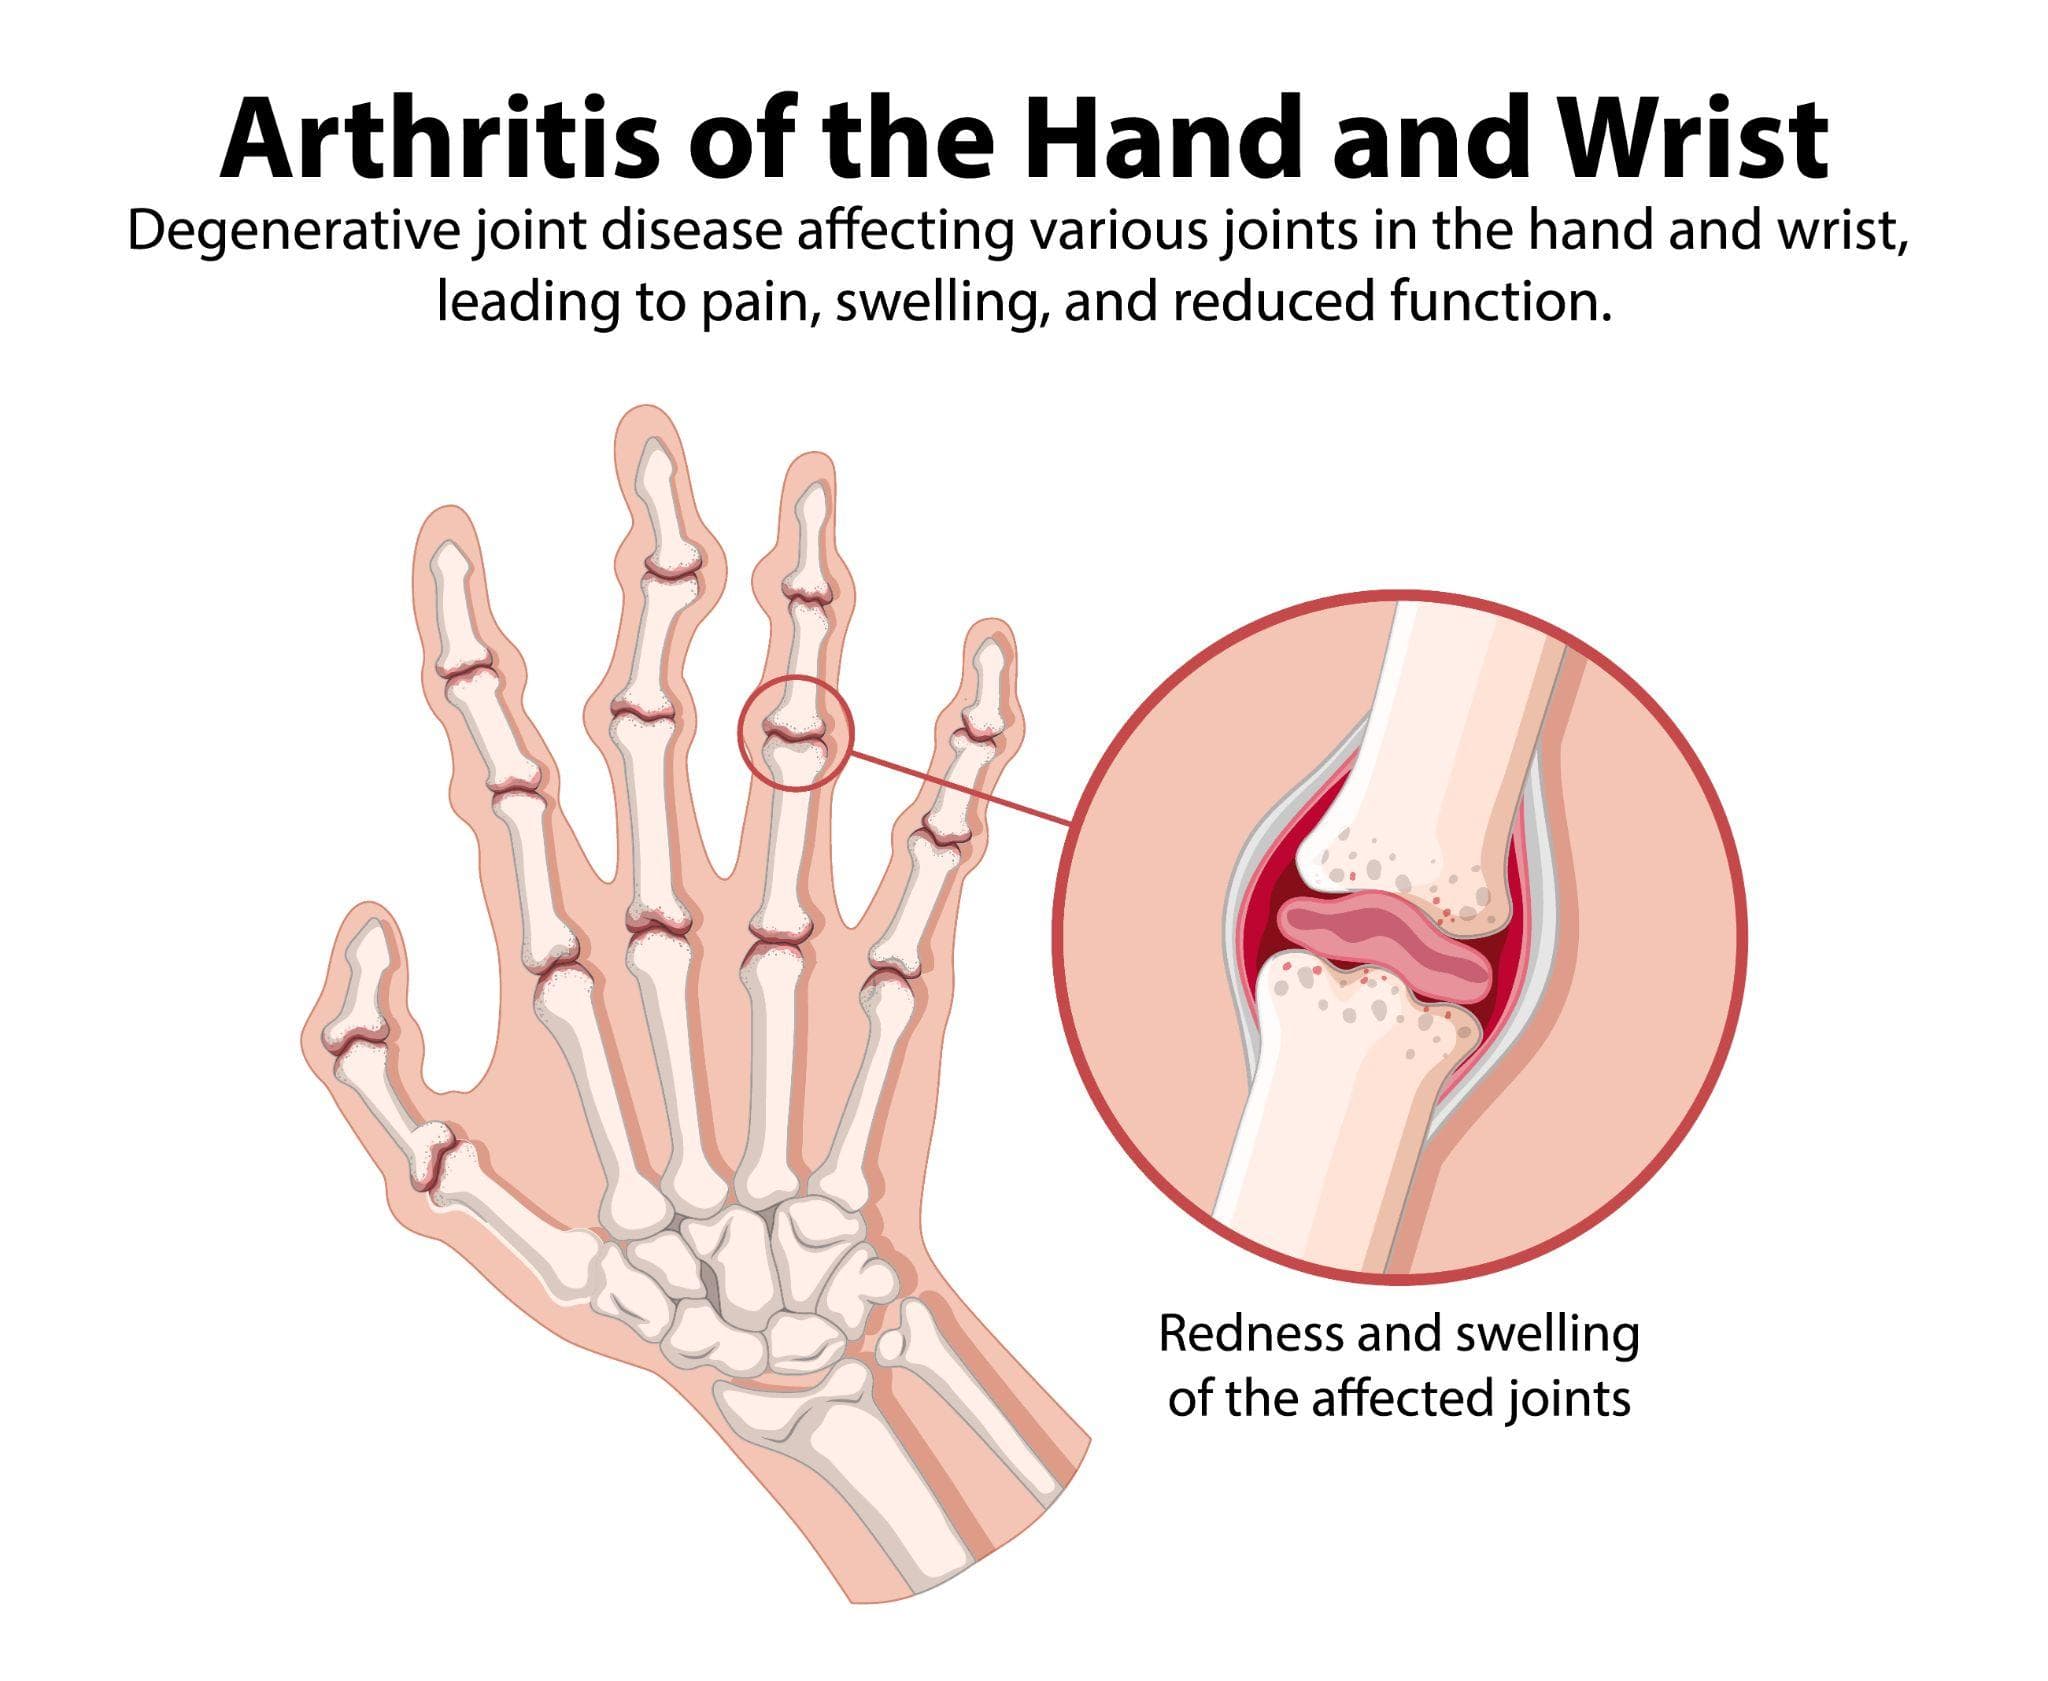
When that cartilage wears away — from osteoarthritis, rheumatoid arthritis, avascular necrosis, or a fracture — bone starts rubbing against bone. The result is deep, persistent pain that worsens with every step.
Hip replacement removes the damaged ball and socket and replaces them with artificial components made of metal, ceramic, and high-grade plastic. The joint surfaces are new. Everything else — the muscles, tendons, and nerves around the hip — is largely preserved.
The surgery is typically recommended when non-surgical treatments (physiotherapy, anti-inflammatory medications, injections) have stopped providing meaningful relief and the pain is affecting daily life.
Before the Operating Room: What Preparation Involves
Like knee replacement, good hip replacement begins before the incision.
Pre-operative workup includes blood tests, an ECG, pelvic X-rays and often an MRI or CT scan. The imaging helps the surgeon measure your specific anatomy and plan the exact implant sizing. This precision matters — an implant that fits poorly will not feel right.
You'll be asked to stop any blood thinners several days before surgery. Diabetes should be well-controlled. You'll fast from midnight before the procedure.
Some surgeons recommend strengthening exercises in the weeks before surgery to prepare the muscles that support the hip. Stronger muscles on the way in means faster recovery on the way out.
Step 1: Anesthesia and Positioning
Hip replacement is most commonly performed under spinal anesthesia — a needle in the lower back that numbs everything from the waist down. You remain awake but feel nothing. General anesthesia (complete sleep) is also an option, particularly for patients who are very anxious or have specific medical considerations.
Your anesthesiologist will advise which approach is safer and more appropriate for your health.
Once the anesthesia takes effect, you're positioned on the operating table. The approach the surgeon uses determines exactly how you're positioned:
- Posterior approach (most common): You lie on your side, with the hip to be operated facing up
- Anterior approach: You lie flat on your back
A surgical draping is applied around the hip area, and the skin is cleaned with antiseptic solution.
Step 2: The Incision and Approach
The most important choice in hip replacement surgery — one patients rarely get explained to them — is the surgical approach. This refers to the path the surgeon takes to reach the hip joint, and it determines which muscles are moved or cut.
Posterior approach: The incision runs along the back and side of the hip, about 10–15 centimetres long. Certain short muscles at the back of the hip are temporarily detached to access the joint. This is the most widely used approach because it gives excellent visibility.
Anterior approach (minimally invasive): The incision runs along the front of the hip. The surgery is performed between muscle planes rather than cutting through them. This typically results in less post-operative pain and faster early recovery, though it requires specific surgical training and equipment.
Lateral approach: Accesses the hip from the side, preserving the main hip abductor muscles.
Dr. Mayank Chauhan at Prakash Hospital Noida selects the approach based on each patient's anatomy, weight, prior surgeries, and the specific condition requiring replacement.
Step 3: Dislocating and Removing the Femoral Head
Once the hip joint is exposed, the surgeon carefully dislocates the femoral head (the ball) from the acetabulum (the socket). This sounds alarming but is entirely controlled.
The femoral head is then removed by cutting the femoral neck — a precise cut made with an oscillating saw at a predetermined angle. The removed femoral head is set aside; its dimensions help confirm implant sizing.
Step 4: Preparing the Acetabulum (Socket)
The damaged cartilage and bone in the socket are removed using a series of hemispherical reamers — rotary tools that gradually enlarge and shape the socket to the exact size and angle needed for the cup component.
The surgeon checks the depth and orientation carefully, because the angle at which the cup sits directly affects how stable the new joint will be.
Once the socket is prepared, the acetabular cup is pressed firmly into place. Modern cups are usually press-fitted initially — the precise fit creates enough friction to hold them stable while bone gradually grows into the porous surface. Small screws may be added for additional security in some cases.
A liner — made of high-density polyethylene, ceramic, or metal — is snapped into the cup. This is the surface that the new femoral head will articulate against.
Step 5: Preparing the Femur (Thigh Bone)
Attention shifts to the thigh bone. The femoral canal — the hollow core of the bone — is carefully opened and shaped using a series of rasps that progressively enlarge the canal to match the implant stem.
A trial stem and head are inserted to test fit and stability before the permanent implant goes in.
Step 6: Trialing — The Test Run
With trial components in place, the surgeon reduces the joint (puts the ball back in the socket) and puts the hip through its full range of motion. The team checks:
- Whether the hip feels stable in all positions
- Whether leg lengths are equal (or appropriately balanced)
- Whether the implant size gives the correct tension through the soft tissues
- Whether there's any impingement (the implant catching in any position)
This step is where precision meets judgment. If the leg length is off by a few millimetres, or the hip feels loose in a particular direction, the surgeon adjusts the trial components. Only when everything is right does the permanent implant go in.
Step 7: The Permanent Implant
The final implant has two main pieces
Femoral component: A metal stem inserted into the thigh bone canal, with a polished ball (femoral head) attached at the top. This ball is typically cobalt-chrome or ceramic — both extremely smooth and durable. Ceramic is particularly favoured in younger patients for its wear resistance.
Acetabular component: The cup already fixed to the socket, with its liner in place.
The femoral stem is secured either with bone cement or press-fit (cementless technique, allowing bone ingrowth). The joint is then reduced — the ball placed back into the socket — and stability confirmed one final time.
The surgery lasts 60–90 minutes from first incision to last stitch.
Step 8: Closing the Wound
The layers of tissue are carefully closed back over the joint — the capsule, muscles, fat layer, and skin — in sequence. Sutures or staples close the skin. A small drainage tube may be placed for the first 24 hours.
You move to the recovery room.
Posterior vs. Anterior: A Practical Comparison
| | Posterior Approach | Anterior Approach |
| Incision location | Back/side of hip | Front of hip |
| Muscle handling | Some posterior muscles detached | No muscles cut |
| Recovery | Standard | Often faster in first 4 weeks |
| Dislocation precautions | Required 6–12 weeks | Usually less restrictive |
| Surgical requirements | Standard training | Specialized training + table |
Both approaches give excellent long-term results. The "best" approach depends on the surgeon's expertise and the patient's anatomy — not on marketing.
What Recovery Looks Like
Day 1: Most patients stand and walk a few steps with a walker or physiotherapist's support.
Week 1–2: Walking with support, wound care, basic hip precautions (avoiding extreme positions that risk dislocation).
Week 3–6: Transitioning off the walker to a cane. Returning to light home activities.
6–8 Weeks: Most patients manage stairs, short walks outside, and independent daily living.
3–6 Months: Most activities restored. Many patients can walk long distances, travel, and perform most recreational activities.
Hip implants are typically designed to last 20–25 years. Success rates in large studies consistently exceed 90% at 15 years.
Common Questions
1. How long does the surgery take?
60–90 minutes for most primary (first-time) hip replacements. Complex or revision cases take longer.
2. Will I have a scar?
Yes — 10–15 centimetres depending on the approach, along the hip. It fades considerably over 12–18 months.
3. When can I sleep on the operated side?
Usually after 6–8 weeks, when soft tissue healing is sufficient. Your surgeon will guide you specifically.
4. What are the main risks?
The most significant ones are infection, blood clots (DVT), and dislocation in the early weeks. These are uncommon when surgery is done at an experienced centre with proper precautions.
Consult Dr. Mayank Chauhan at Prakash Hospital, Noida
Dr. Mayank Chauhan is a senior orthopedic surgeon specialising in hip and knee replacement at Prakash Hospital, Sector 33, Noida. With an international fellowship in arthroplasty and joint reconstruction from Hallym University Hospital, South Korea, and 15+ years of surgical experience, he brings both the technical precision and patient-centred care that complex joint replacement demands.
If you're experiencing significant hip pain or restricted movement that isn't responding to conservative treatment, an evaluation is the right first step.
To book a consultation, call the number listed on the website.